[Tutorial] Drawing humans
This is what we are making.

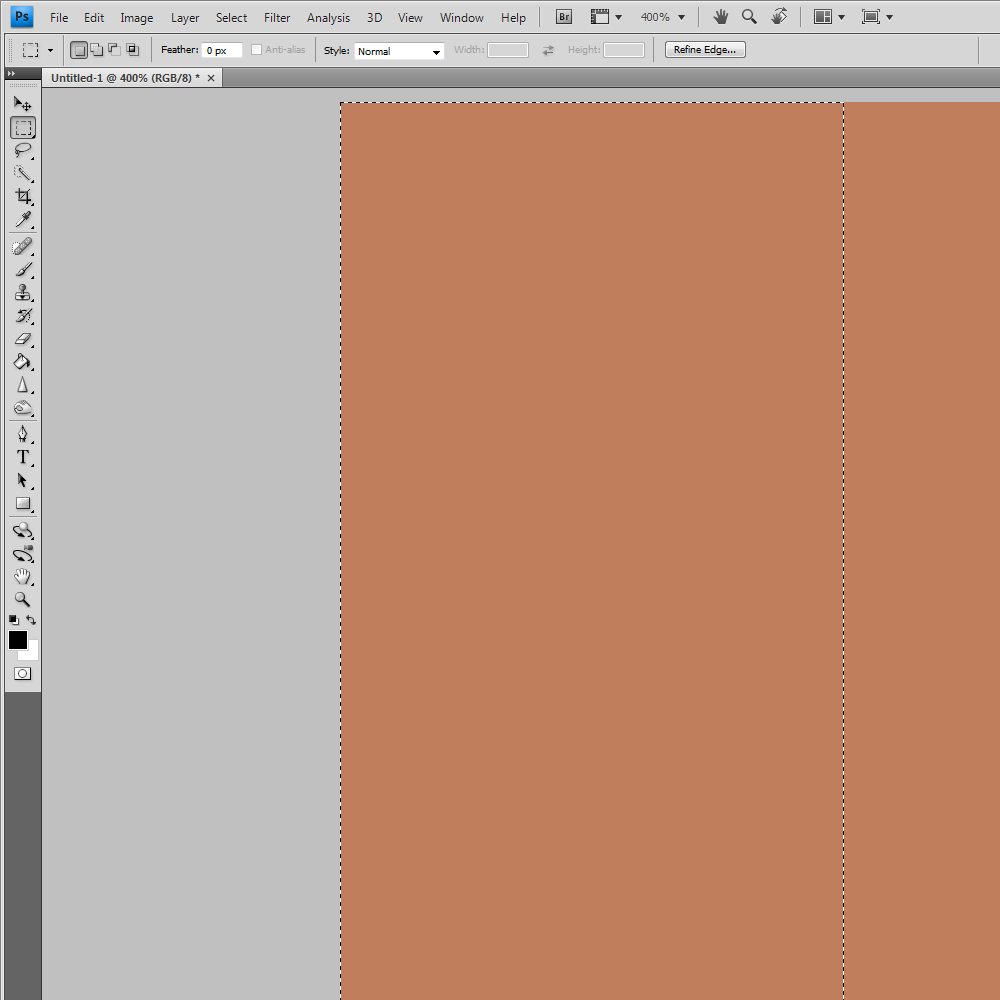
Step 1
Making the background color, you don't want a too bright color since then the highlighted spots won't be as clear as it would be with a darker color. Because the darker it gets the more visible the "doses" of light will be.
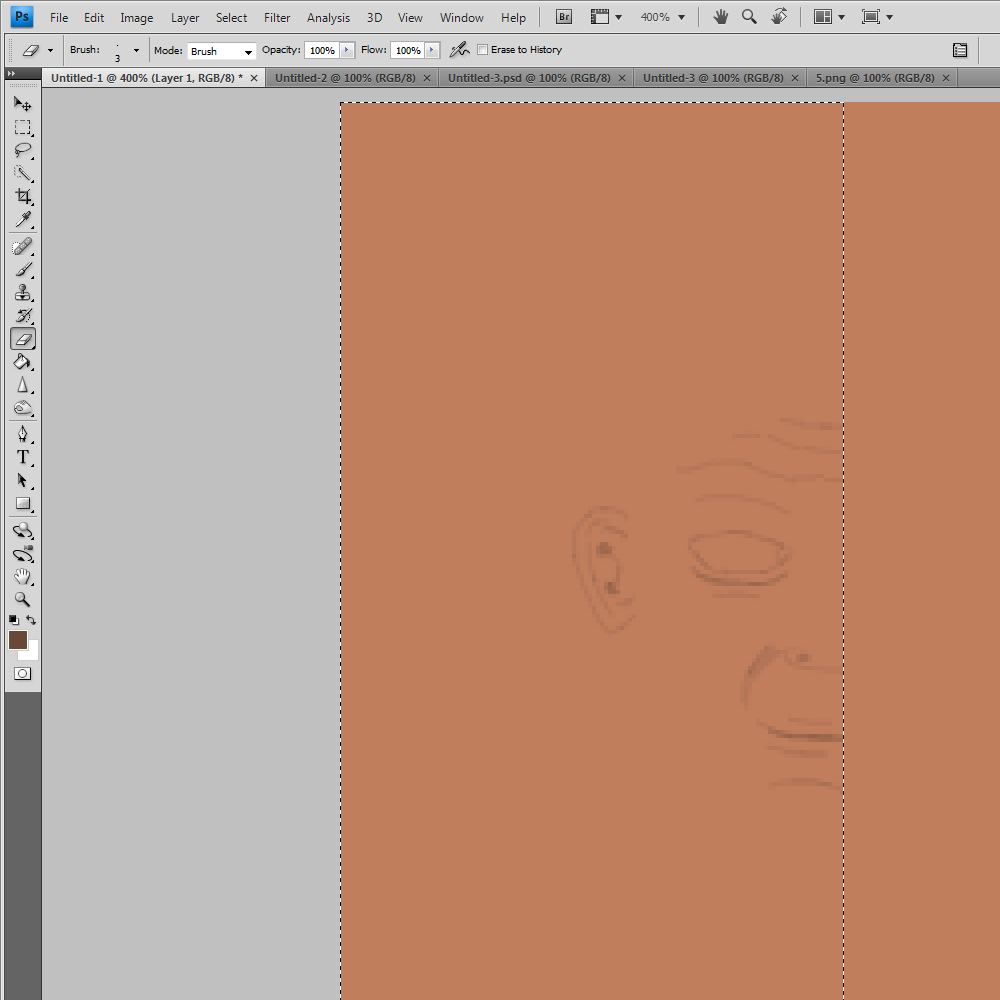
Step 2
The basic outlines. You don't want too much details in it, just the basic structure. The outline shouldn't be black, it should be in the same color as the background only a bit darker. The outlines should just show the basic structure of the face, do not include shading and/or small details just the important parts like eyes, nose, ears, mouth.
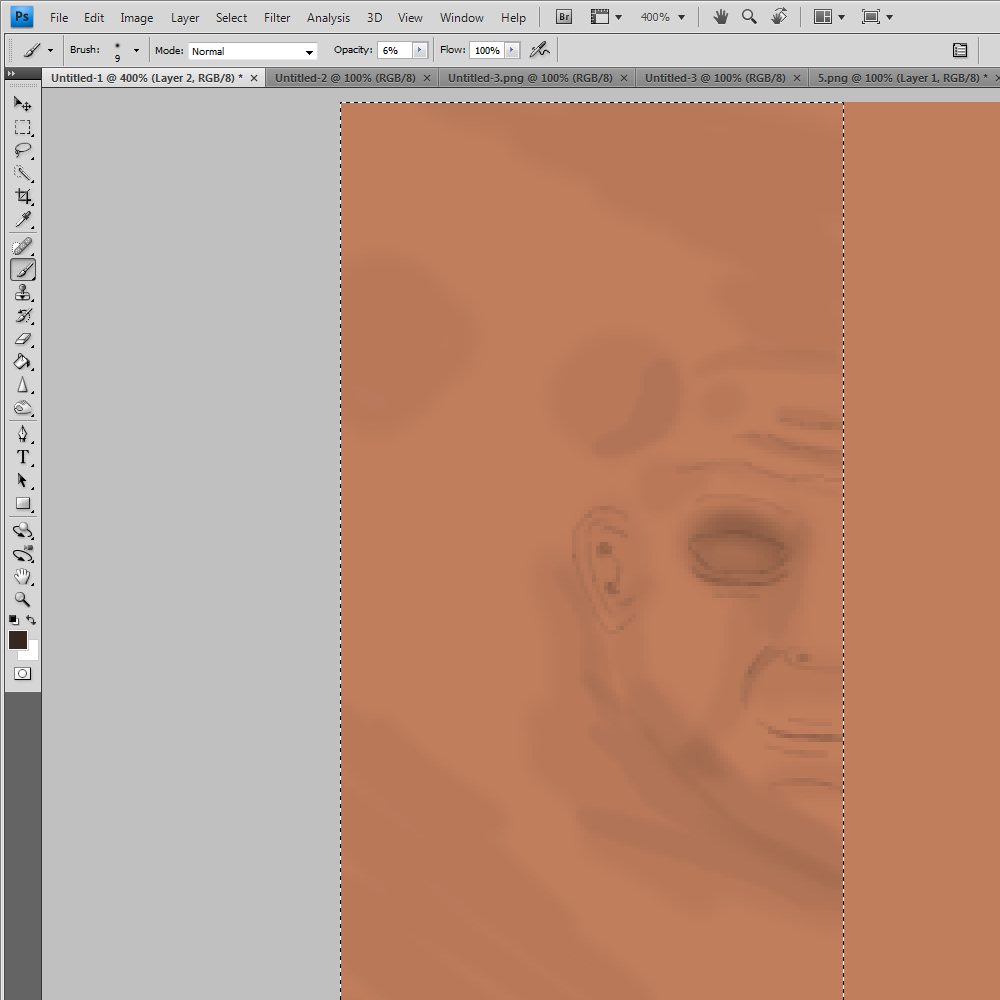
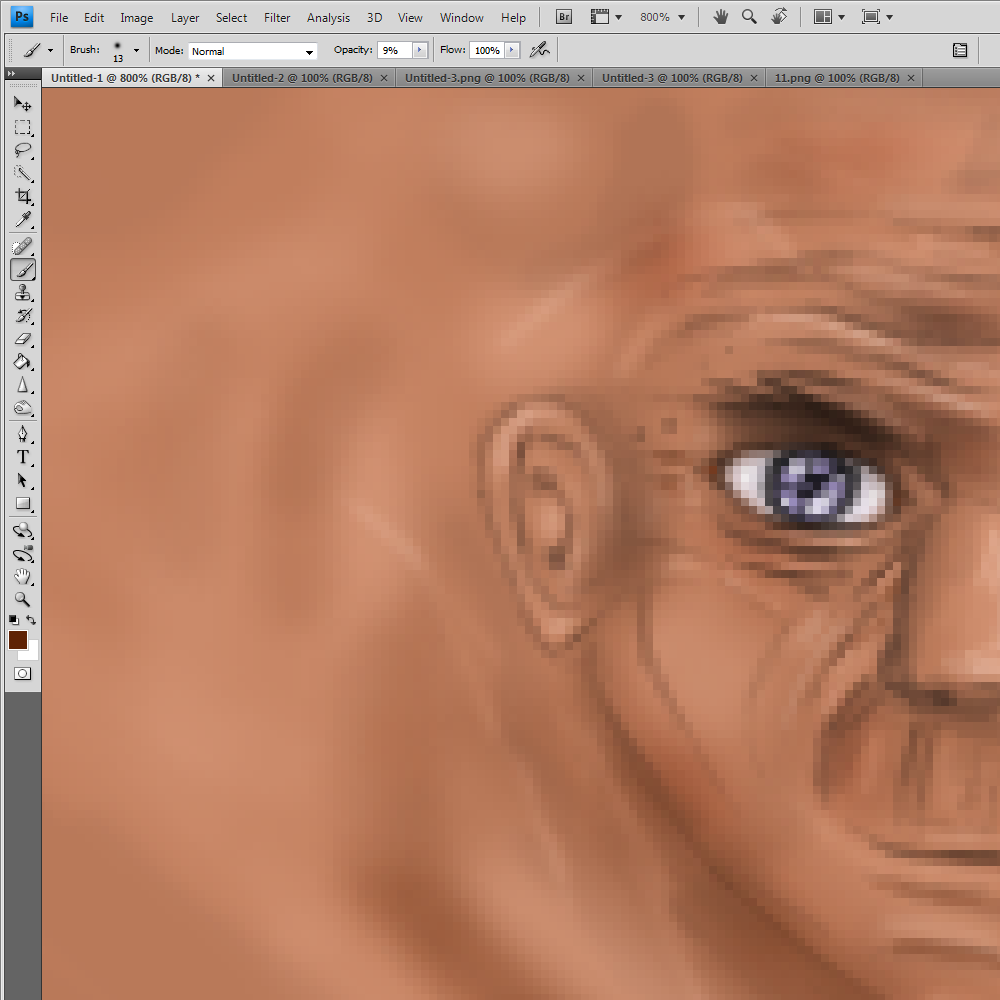
Step 3
Take the brush tool and make it large with low opacity (in this case 9 pixel smooth 6 opacity brush) Make sure the color you brush with don't differ too much from the background. Only slightly darker as shown. Paint in the darker values where light doesn't hit that much. A good idea is to look at other paintings when doing this so you can see where the light are suppose to hit if you're not able to calculate that on your own.
The light usually hit stronger on open surfaces like the chin, forehead, nose. And less around the eye, under the shin, under the mouth etc. Make sure the shadows are correct based on the angle the light source comes from.
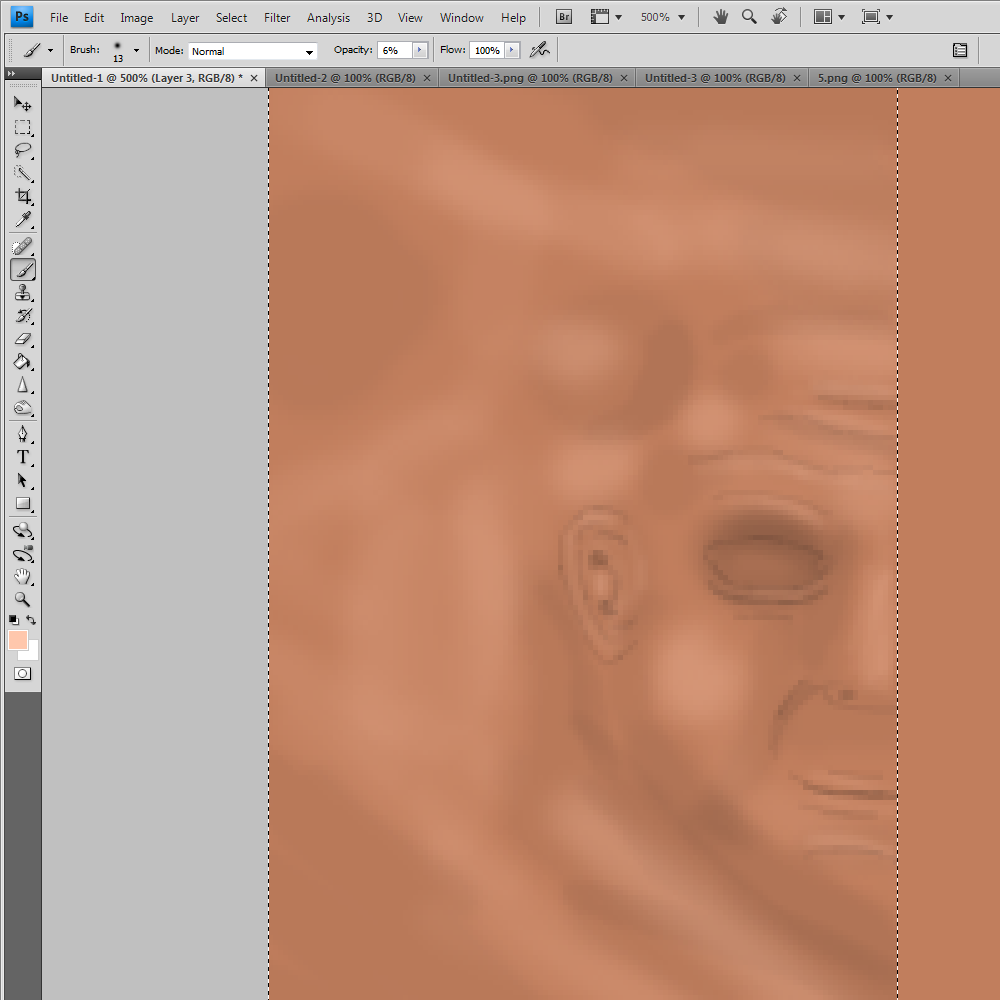
Step 4
Now take another brush and make it slightly lighter than the background and fill in the bright spots. The light at the forehead and cheek should be stronger than the light hitting around the eye and under the nose as mentioned earlier.
Step 5
zooming in is a smart idea when you are painting more and smaller details (for this I used the same brush as the outlines) After that use the brighten/darken technique that is shown earlier to paint smaller shadows/bright spots. This will make the human more 3d by showing where the light hits stronger and weaker.
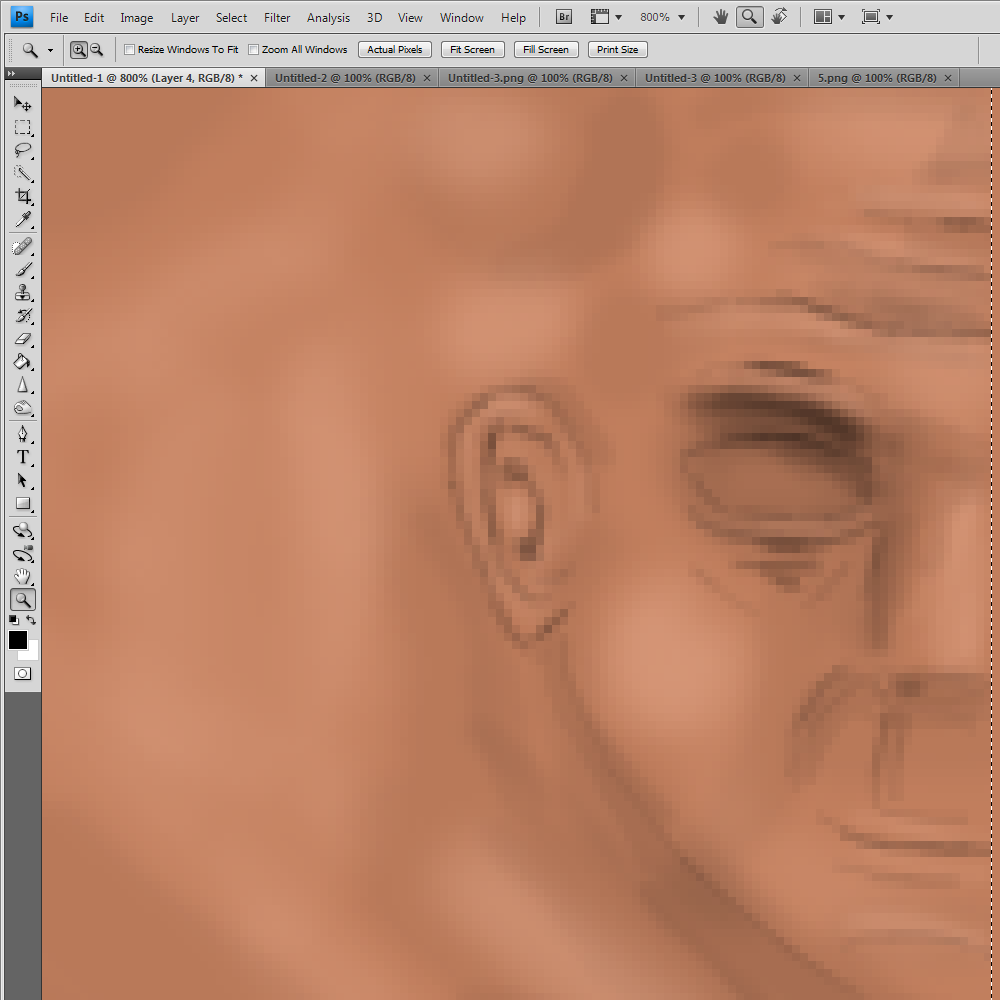
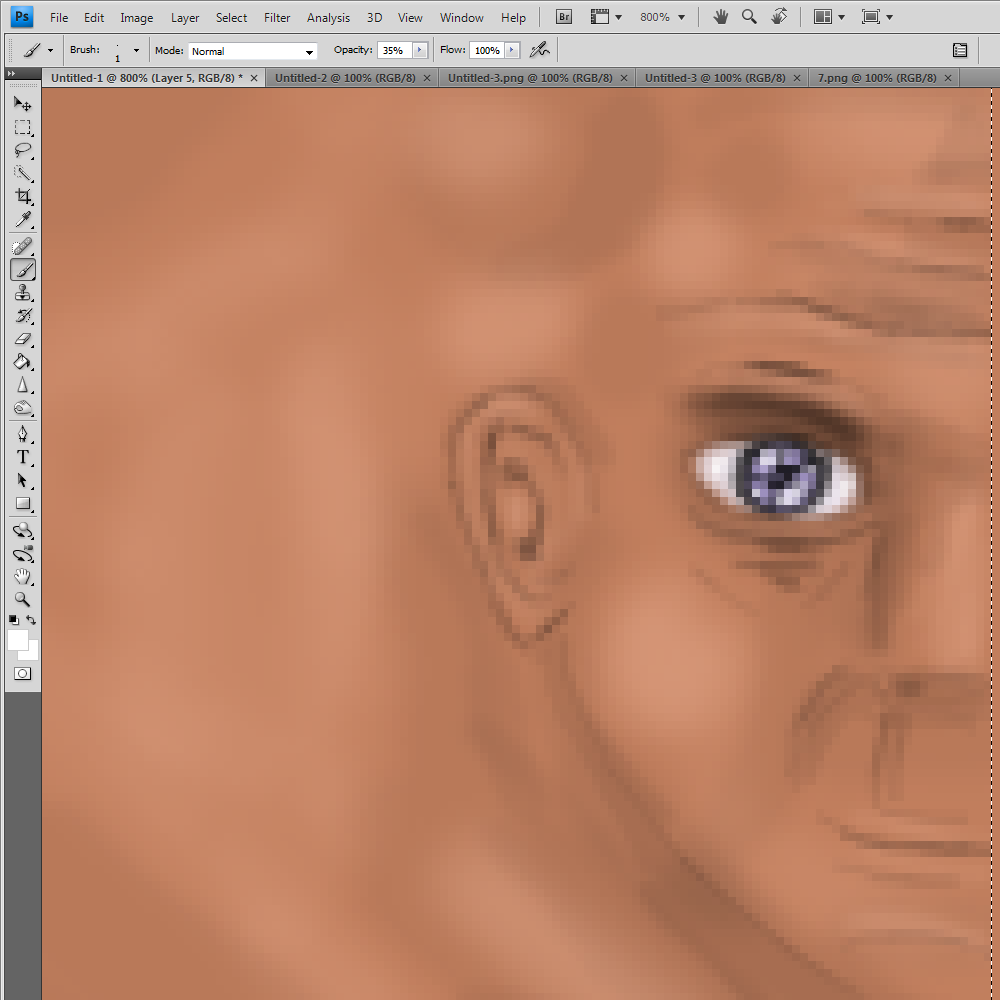
Step 6
Filling in more details and bright spots. Also painting in the eye. The way to do it is to paint the background color on the eye first. The background shouldn't be totally white, but slightly blue because no-one have totally white eyes. The pupils are painted with first painting the circle black the pupils should be almost a perfect circle not oval since that's how humans are, then painting blue in the middle over it. The paint a black circle over that again. The reflection are done with a low opacity small brush tool. This makes the reflection in the eyes and makes them look "sparkly"
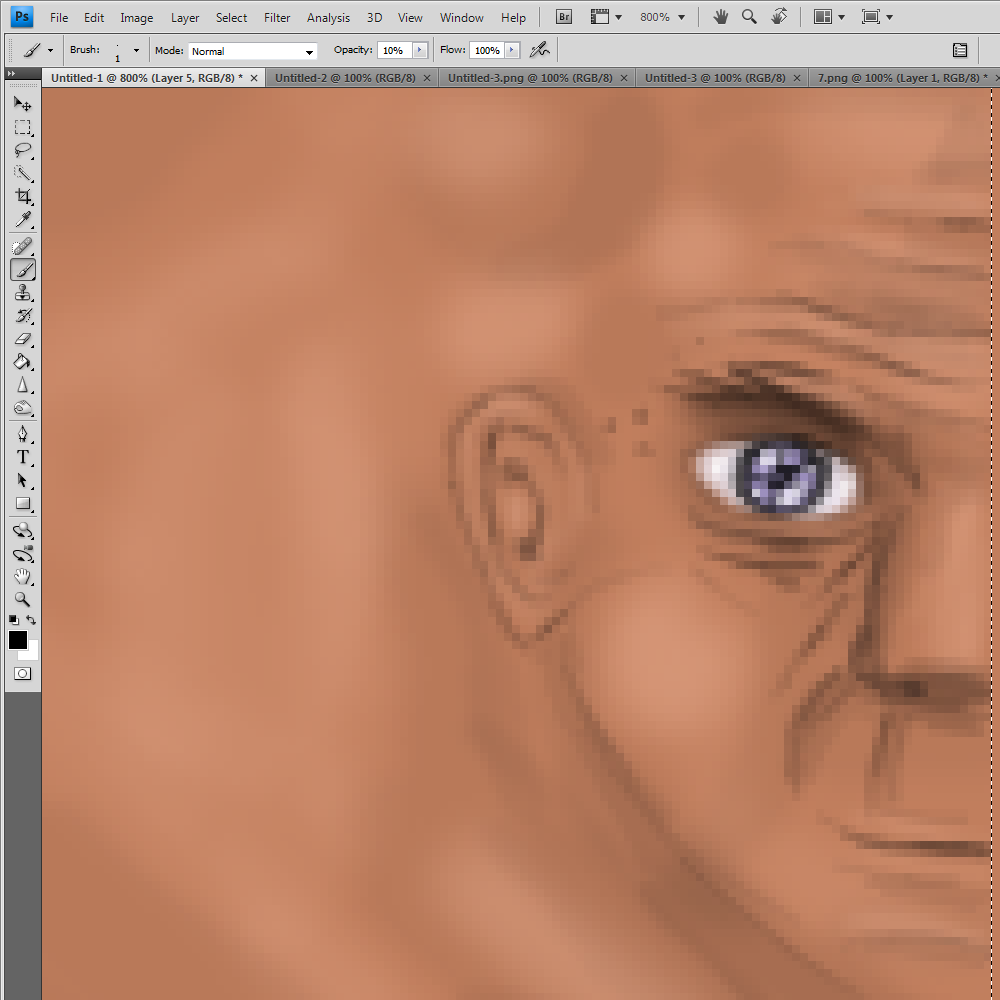
Step 7
Made some more wrinkles and eyebrows. Remember that the eyebrows shouldn't be too big or visible neither should the wrinkles. This depends of course on what human you are painting.
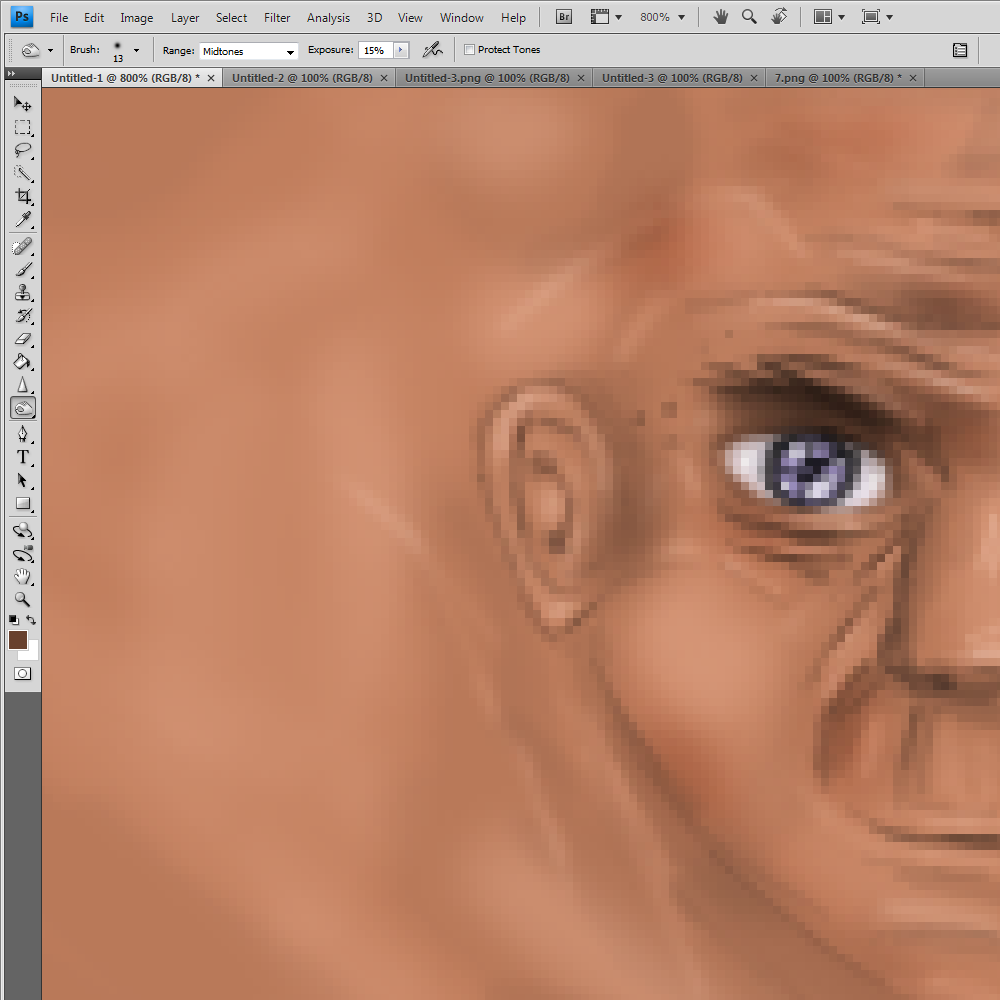
Step 8
You don't have to do the next steps, but if you want a lot of details continue looking. The small white details that resembles surfaces where the light are likely to hit are done with a low exposure dodge tool 3 pixels. Use the techniques shown above and go more and more into details

Step 9
Step 10
After making this I figured out that I needed a bit resizing, and in most cases resizing is something you have to do to make it perfect. I also fixed the ear and other small details.
Hope you enjoyed the tutorial

Pm me if you have problems with this techniques or want to see more like this.
This is originally posted in Monobis Desciples, but I though it was a good idea to post it here to a bigger audience.
Last edited by Ezeth; Jun 6, 2010 at 09:15 PM.